April 2012
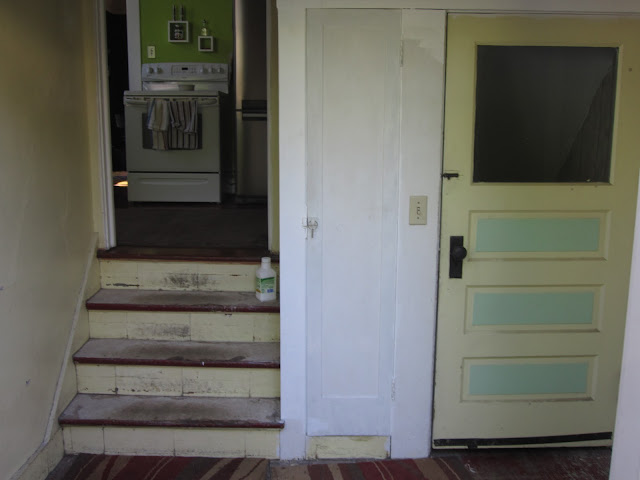
After taking some time off from our bedroom and hallway paint-a-thon we finally got enough good weather to finish off the mudroom. This room seriously feels like it haunts me... how can we still be working on it? Over the winter, I had sanded the closet door and painted it and also stripped the hardware and reinstalled it back in place. I also added two coats of poly to the floor so that it was easier to mop up. The porch paint tended to scuff and discolor so we thought this would help make it more resilient. Josh also install some base shoe around the room to clean up the edges. The only thing we had left to do was to paint the doors and add the finishing touches.
Josh and I took a Saturday and teamed up to add two coats of our favorite red paint on the doors. We decided instead of painting the doors white in an all white room, to paint the doors the same color that we did on the exterior. We felt this was in keeping with our theme of this being a porch, not a staircase landing. We wanted it to feel more a part of the outside then the interior. I think this reforced our decision to paint the floor with porch and install exterior bead-board.
Before:
After we finished painting, I added the old hallway runner to the space and started to think about accessories. The room gets a lot of use and a lot of bangs and bumps. We were a little nervous to put up a lot of artwork in the space. In the end, I pulled out two photographs I bought in London ages ago and decided it was their time to shine. I took them to Michael's to be framed, using our signature black frame and white mat to beef them up and hung one on the wall from the kitchen and another on the wall to the basement. I was happy to see them find a home after 8 years of hiding in a box. I also think the pops of red, black and white work well with the room as whole. My last addition was a cute brass dog head coat hook I got a couple of years ago at anthropologie. It made the perfect spot to hang Gus's rainjacket (yes my dog has a rainjacket, you laugh, but the smell of wet dog 9 months out of the year is not a joke).
Before:
The round up:
Where we paid:
New custom made French door $1,900.00, New energy star dog door- $175.00, Installation of new french door and dog door $300.00, Cost for paneling, installation, and skim coated ceiling: $650.00, One gallon Acrinamel Semi-Gloss basic white paint- $43.00, One gallon porch paint- $45.00, Artwork- $120 for custom framing and matting, Coat hook-$12.00 Anthropologie, New light fixture-$120 School House Electric, Electrical for light- $60.00
Where we saved:
Tore up the linoleum ourselves, decided to keep original floor instead of installing tile, sanded the floor ourselves, painted the room ourselves, reused an existing rug, reused existing paint for the doors, reused existing poly for the floors, reused existing hardware by stripping it.
It still a huge expense which feels crazy for a mudroom, but then I have to remember: we had an unusable door, structurally unsound framing, no light, falling down plaster, horrible floors all of which greeted you from our kitchen.


